 (on back order) CarbSeal
-
product info
keep your fizz - fizzy!!
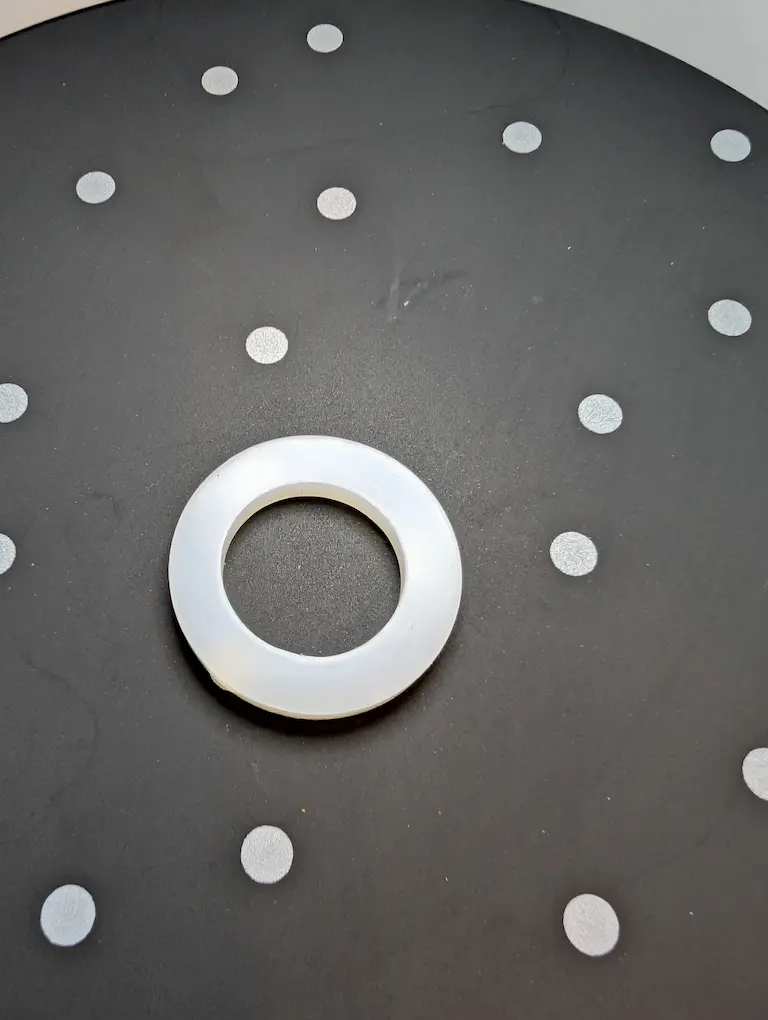
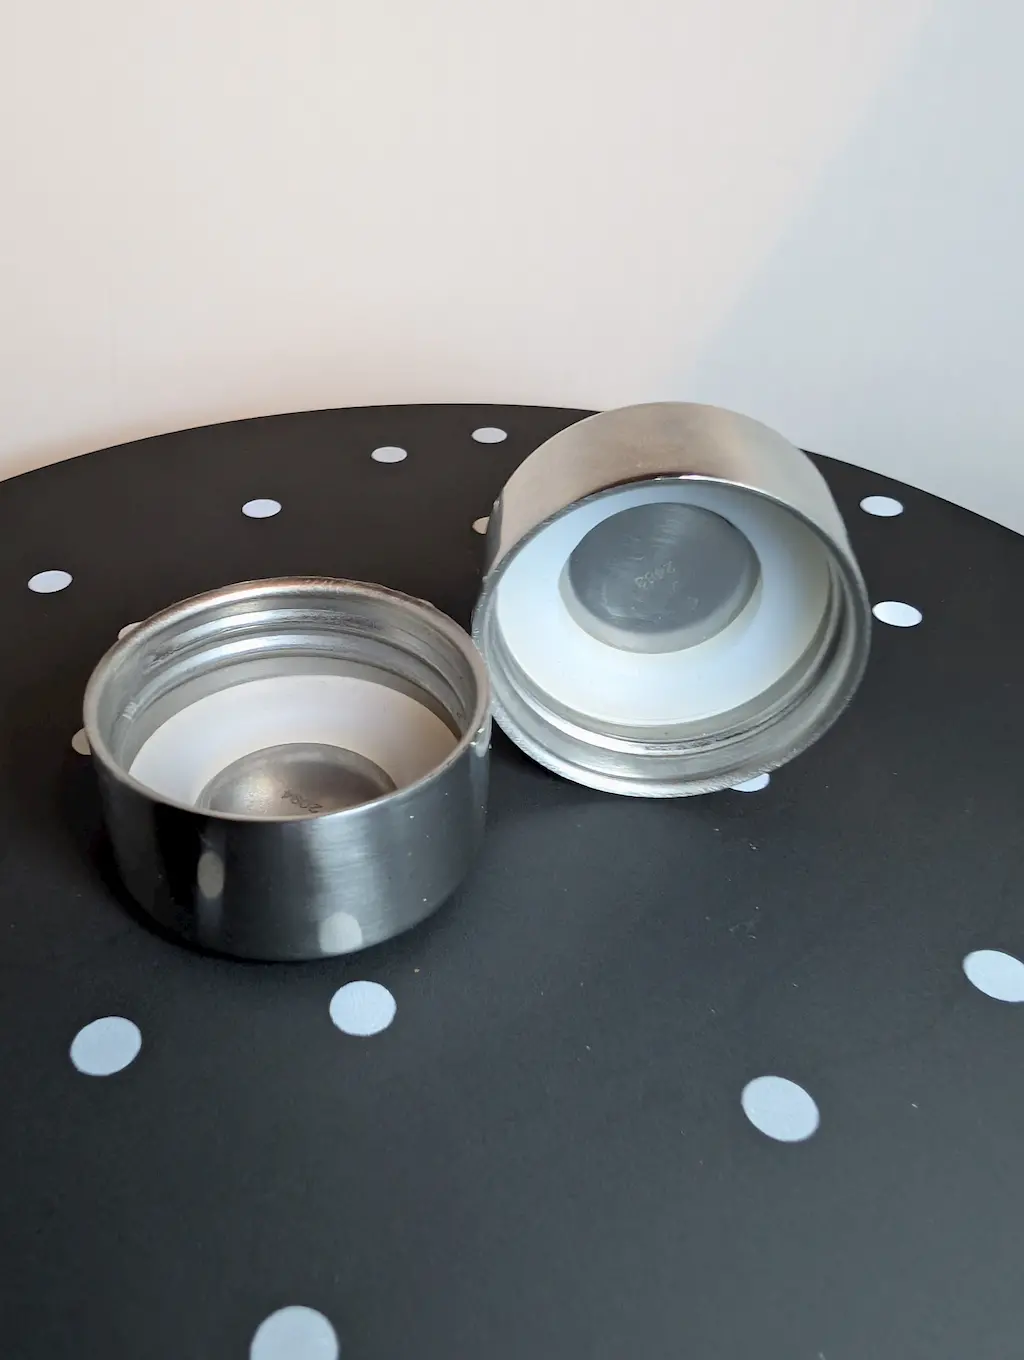
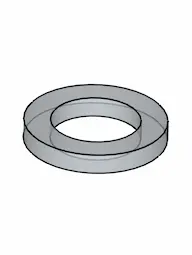
no more missing seals! introducing the CarbSeal for your aarke glass bottle. has anyone else ever checked their aarke bottle cap and found the seal missing or found it mangled in the dishwasher or disposal? keep your aarke water sparkling with CarbSeal! our durable silicone seals ensure a perfect fizz every time.
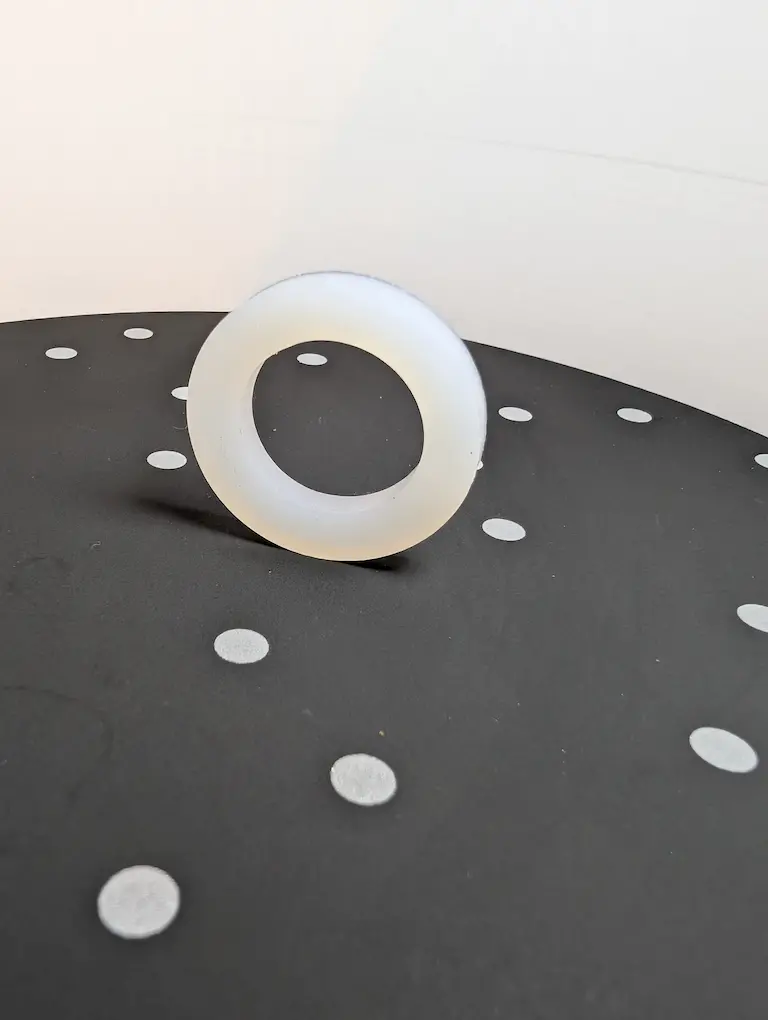
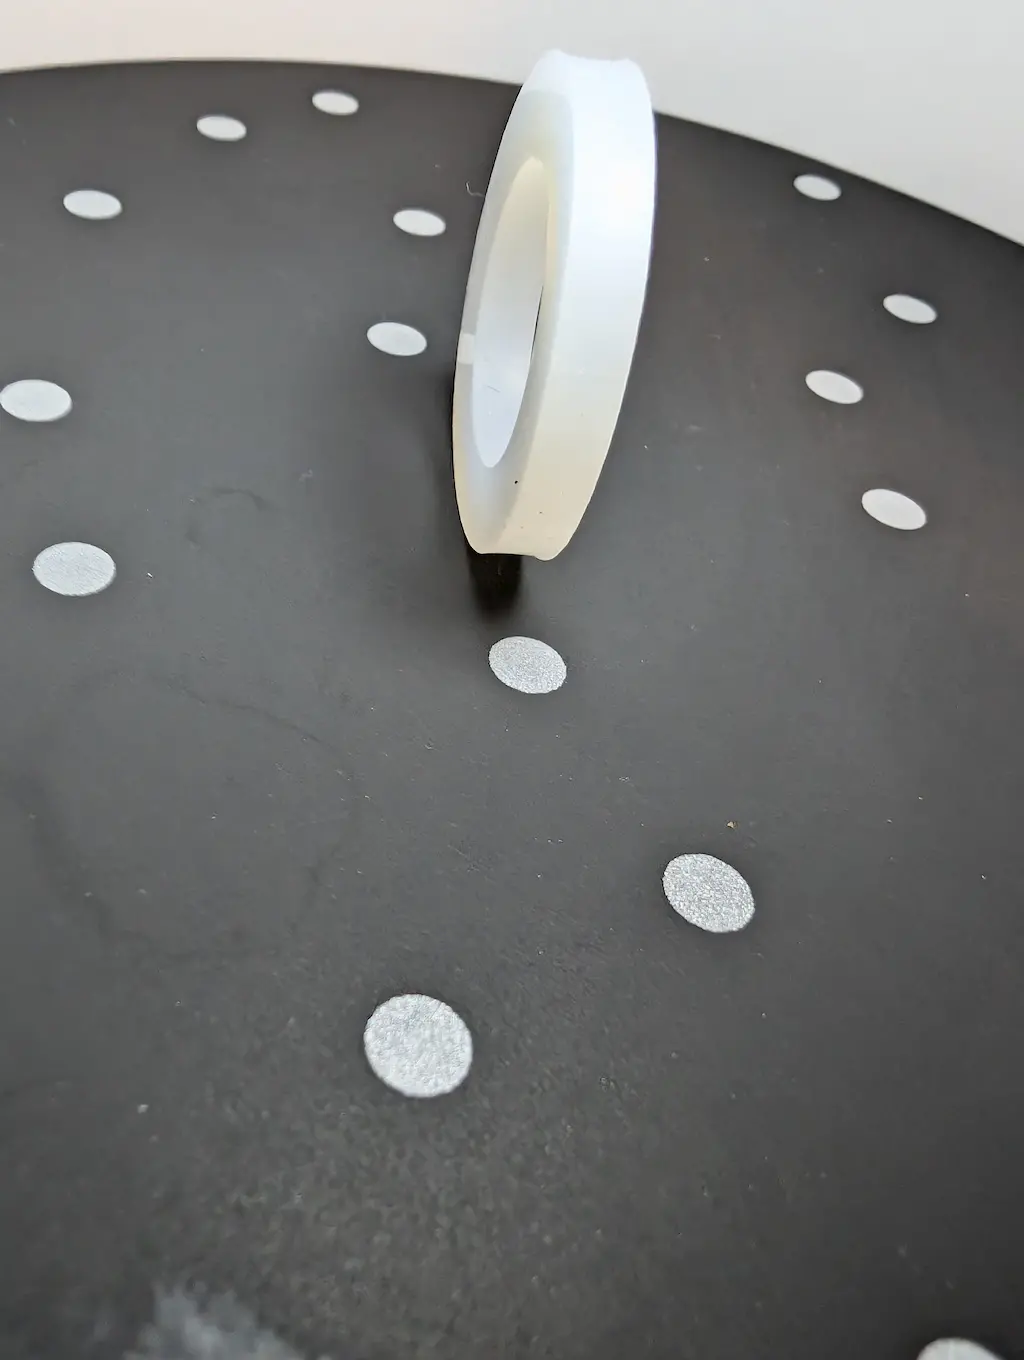
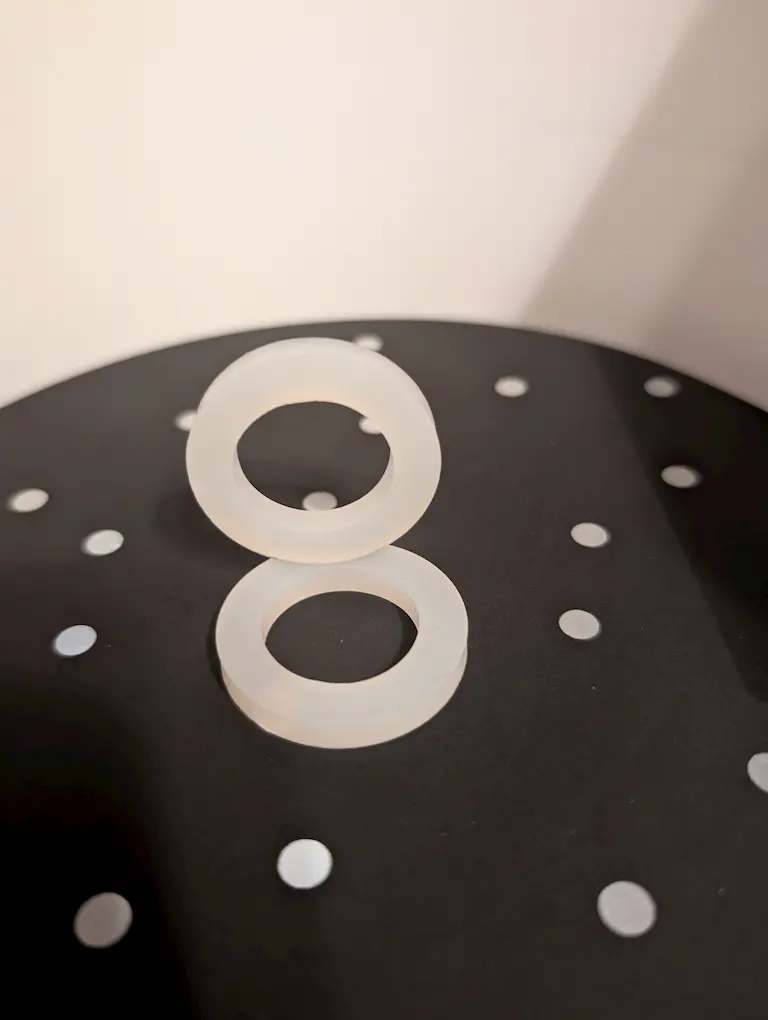
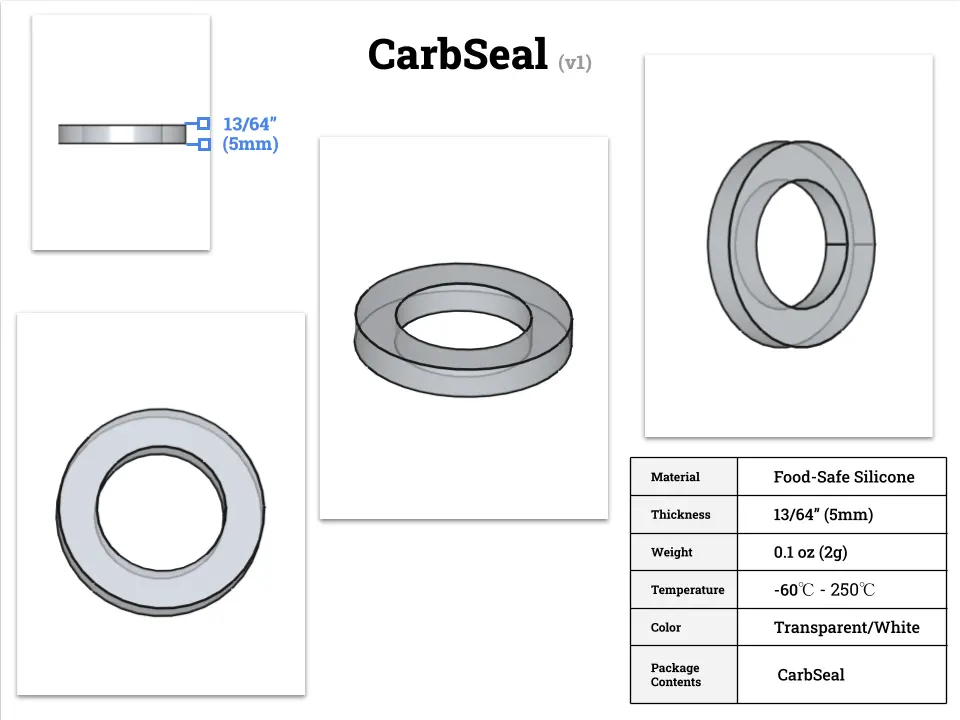
introducing the CarbSeal, a replacement food-safe silicone seal designed specifically for your aarke glass bottle cap. get four (4) 5mm seals for more than 35% savings compared to one replacement cap and seal from aarke.buy the new CarbSeal @alloatech studios tsy store
image gallery(1)
- - if you click on an image you can scroll through the gallery of all images on this page
check out the recommended product list below to see the a list of related products
for detailed installation instructions and tips, check out the instructions section below
-
specifications
durable and reliable: made from food-safe silicone.
temperature resistance: -60°C-250°C
color: transparent / white
engineered for a secure fit, preventing leaks and keeping your fizzy drinks fresh.
-
3d model
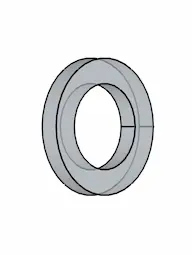
modeled with 3d parametric modeler FreeCAD
-
product video
made from high-quality, food-safe silicone for worry-free use.
-
product list (1)
- - disclaimer: this site contains affiliate links. if you click on a link and make a purchase, i may earn a commission at no extra cost to you. i appreciate your support !!
-
CarbSocket
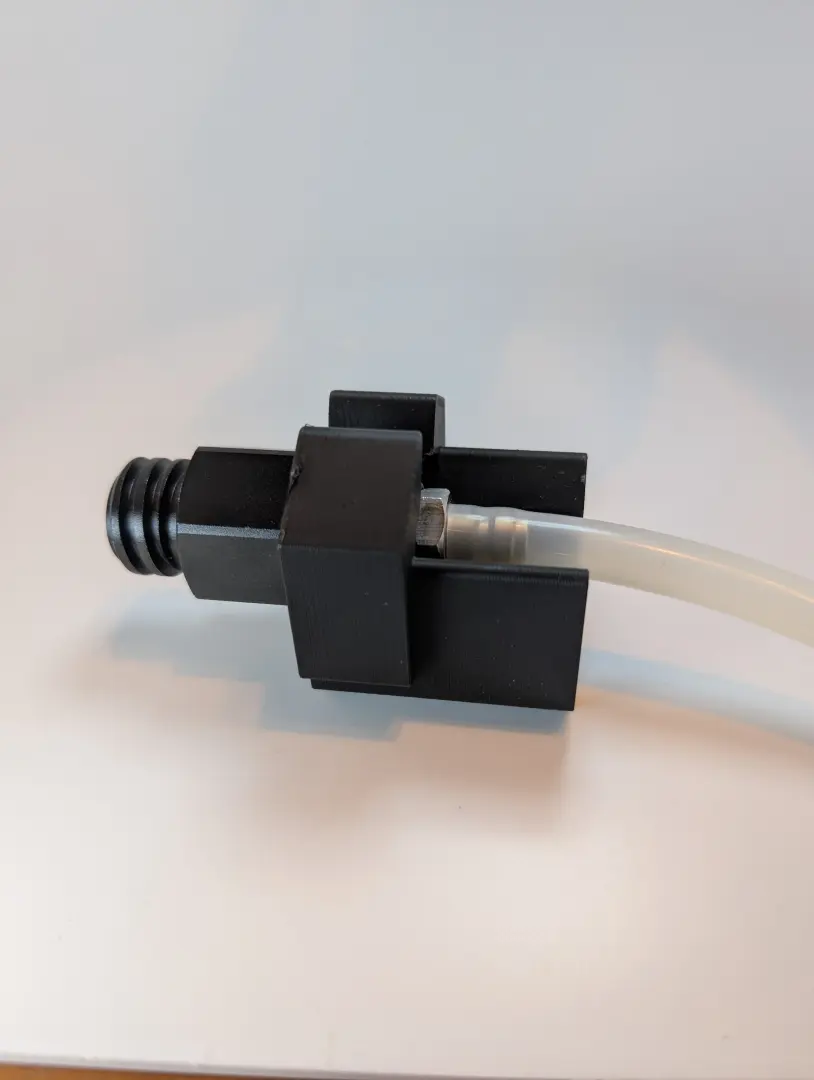
tired of the hassle and cost of changing tiny co2 tanks? the CarbSocket simplifies the process, allowing you to easily connect larger co2 tanks to your aarke carbonator pro.
-
CarbLift (for aarke Pro & 3 models)
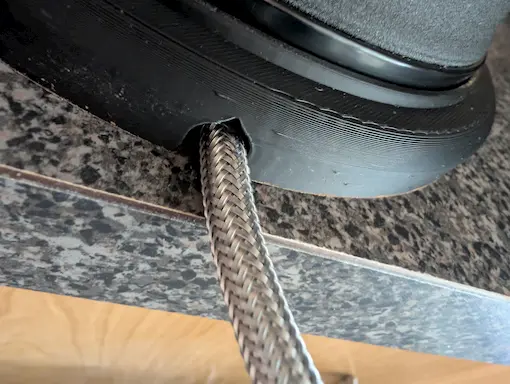
use this custom base to raise your aarke carbonator pro or carbonator 3 so you can easily feed in an external co2 hose into the carbonator from a large co2 tank and enjoy continuous, effortless carbonation.
buy the CarbLift Pro for your aarke carbonator pro @alloatech studios tsy store
buy the CarbLift 3 for your aarke carbonator 3 @alloatech studios tsy store
-
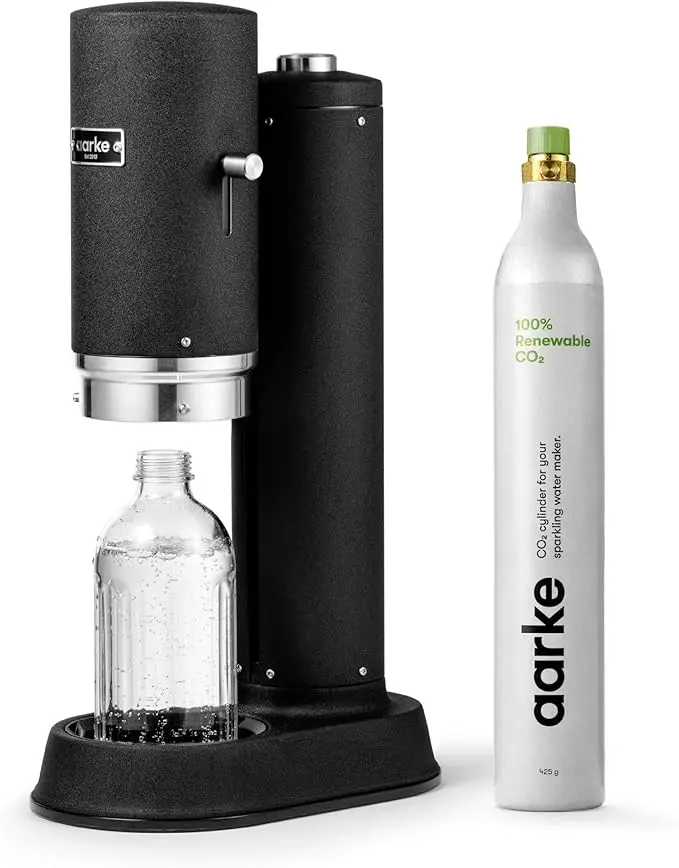
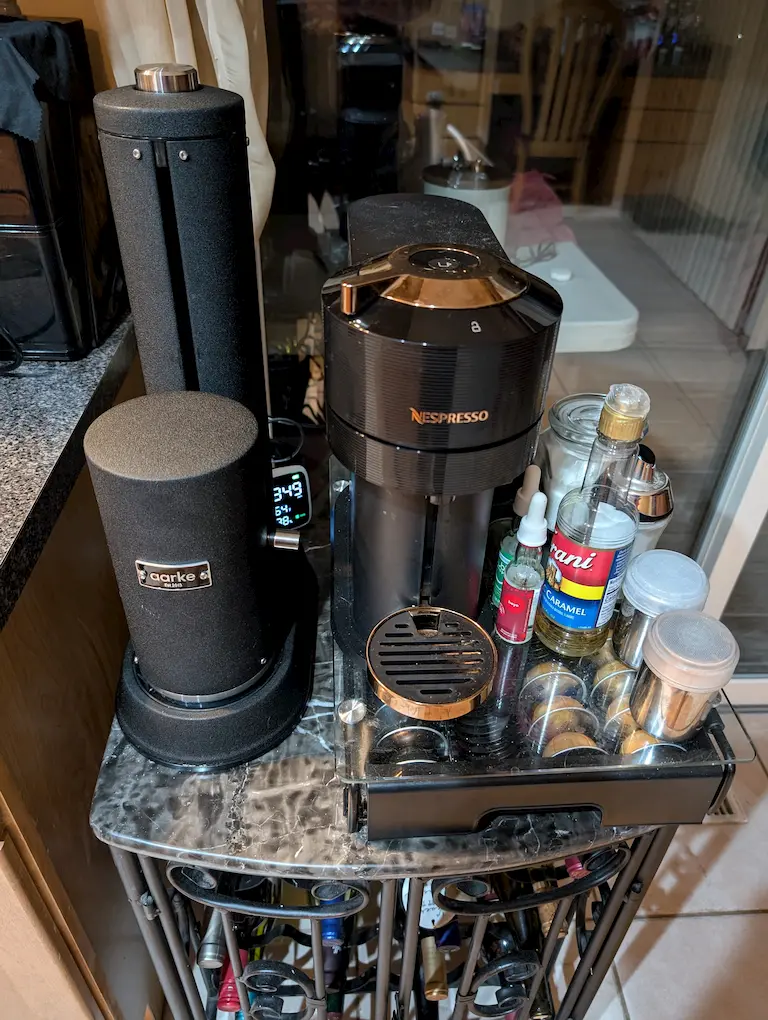
aarke carbonator pro
stylish, durable and reliable: after much research this is my favorite(1) carbonator on the market
-
co2 tanks
most common sizes are 5, 10 & 20lb tanks. consider your consumption rate and where you are going to store the tank. more tips(1)
-
- you need to also consider how you are going to run your co2 hose adapter from the tank to the carbonator. also consider the tank material(1), valve type(2) and local availability for refilling(3). more safety tips(4)
- typically aluminum or steel. check for DOT approved.
- look for a cga320 valve
- check out local beverage centers, home brew supply stores, i went to airgas
- store in a cool, dry place. consult a specialist for advice. handle with care.
-
-
co2 adapter hose
recent change in connector dimensions
so it is really important to note that the tr21-4 adapter really refers to the threads on this connector. that part will not change because it needs to mirror the threads on the tiny co2 tanks. the carbsocket requires a specific size of the hexagon 'shaft' and was originally a 1" hex shaft and that hex shaft was approximately 1 3/8" long. it is important to note that there is no way to control when the manufacturer changes these fitting dimensions. it seemed to be constant for about a year and then all of a sudden a new set of dimensions rendered the CarbSocket useless. worse yet, since I don't keep buying these adapter hoses my customers are the first ones to find out and that just causes delays and frustration on all fronts.
upgraded soda machine co2 adapter stainless steel hose with larger pressure gauge, cga320 co2 tank direct hose adapter and tr21-4(1) adapter
- - the CarbSocket was designed specifically for this adapter. you don't have to buy this exact hose adapter, but you'll need this standard hex 1" tr21-4 adapter on one side to fit the aarke carbonator pro and the CarbSocket
-
co2 carbon dioxide detector
indoor air quality monitor 4-in-1 portable co2 monitor, tester for carbon dioxide, temperature & relative humidity, co2 meter
-
instructions
sterilize the CarbSeal first
place the CarbSeal in a pot of boiling water for five (5) minutes. remove with tongs and let air dry completely.
replacement tip
for best results, consider replacing your CarbSeal every 6-12 months, or sooner if you notice any signs of wear or tear.
-
remove the cap
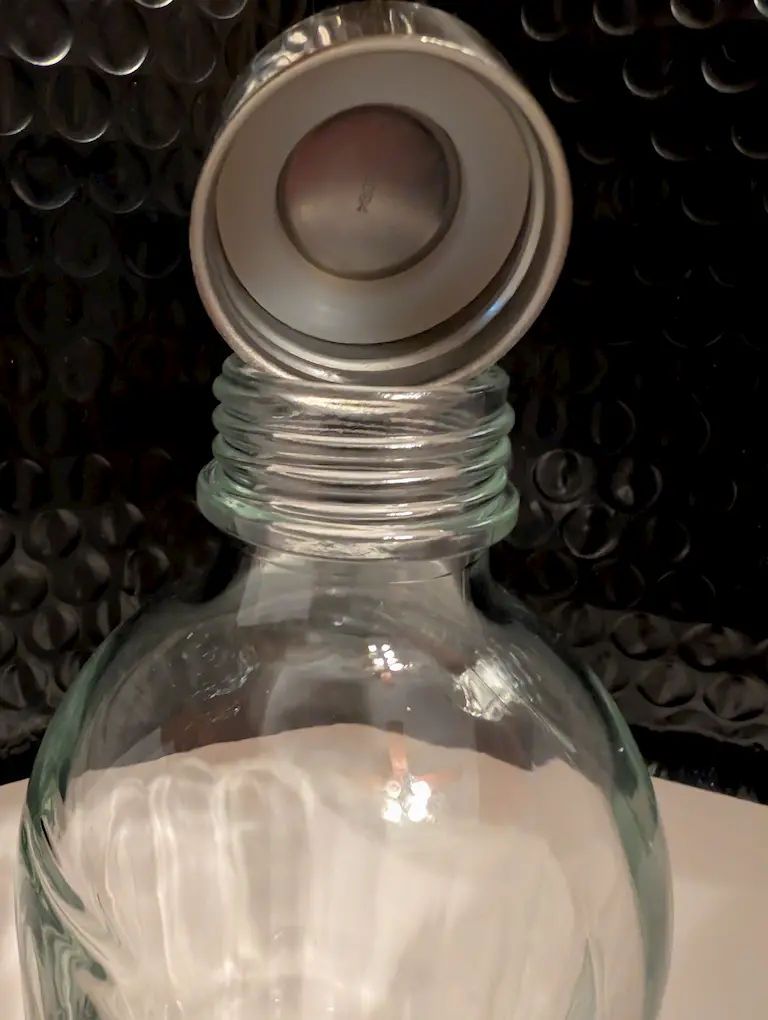
twist the cap counter-clockwise and remove it from the aarke carbonator bottle.
-
remove the old seal
if you are replacing an old or damaged seal, carefully pry it out of the cap with your fingers.
be careful
while removing the existing seal, be careful not to damage the cap itself
fingers not working??
if you are struggling getting your fingernail underneath the existing seal then you can carefully use the back of a small spoon to gently pry the seal up until you can get underneath it.
-
clean the cap
wash the aarke carbonator cap with warm, soapy water and rinse thoroughly. allow the cap to dry completely before inserting the new seal.
keep it clean
to ensure optimal performance and hygiene, periodically wash under the CarbSeal(1) and the cap with warm soapy water. this helps remove any residue that may have built up over time and prevents potential mold growth.
- this applies to the original seals as well, not just the CarbSeal
-
insert the CarbSeal
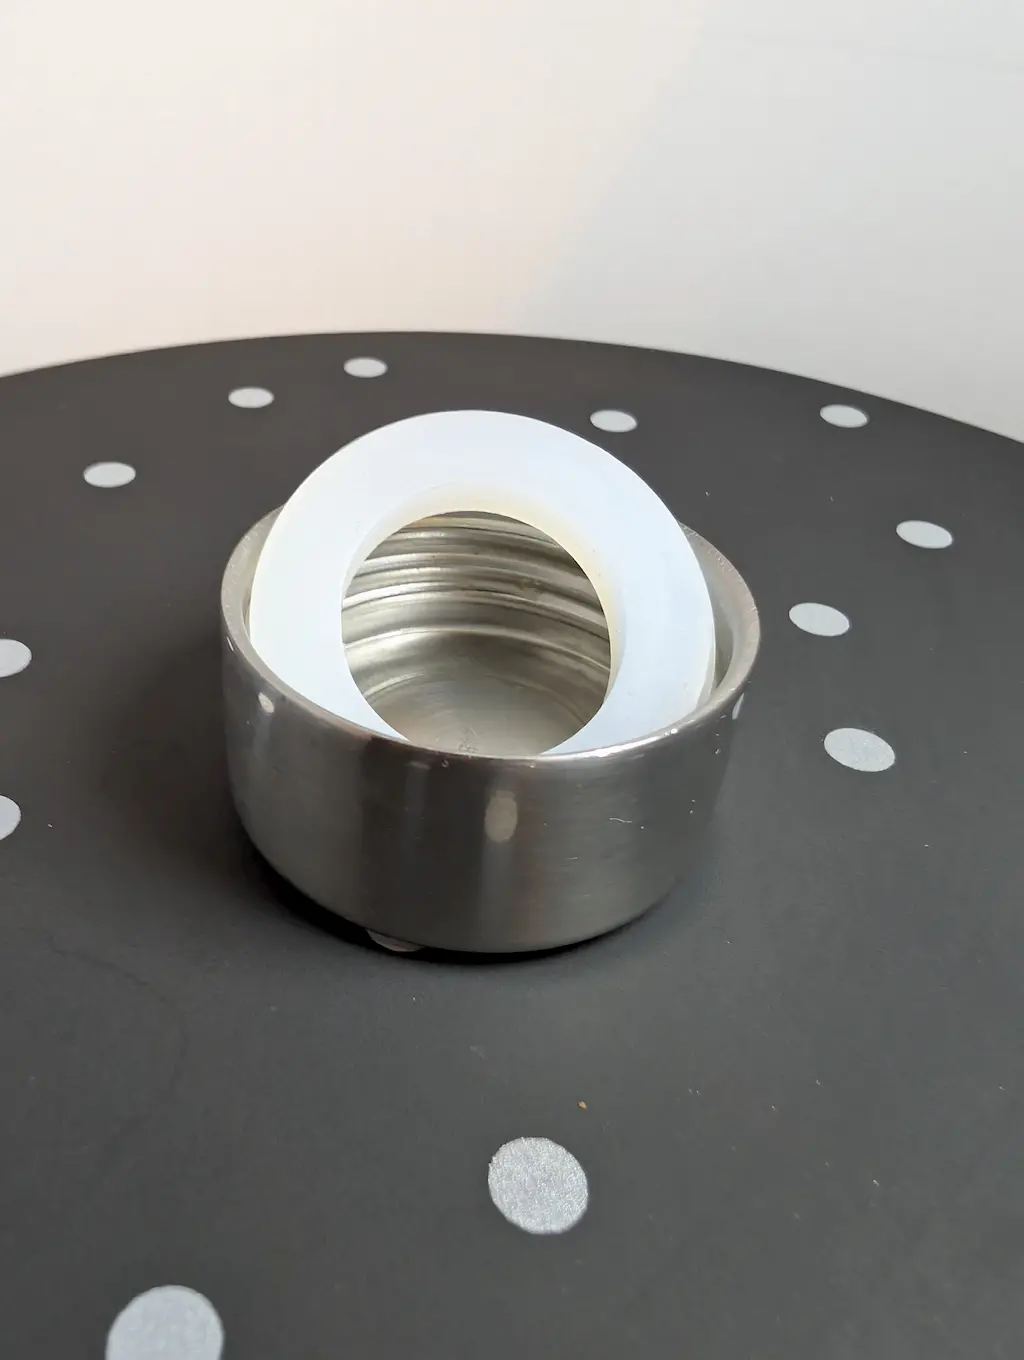
place the CarbSeal into the bottom of the cap.
press down on the outer edge around-the-clock until the CarbSeal meets the bottom of the aarke carbonator cap
ensure the CarbSeal is seated evenly all the way around
it's a snug fit
the CarbSeal is slightly thicker than the original aarke seal, enhancing its durability and longevity. while this may require a bit more effort to seat properly, it ensures a secure fit and a longer-lasting seal.
-
secure the cap
fizz up your bottle as you normally do
slowly twist the cap clockwise and secure it to the aarke carbonator bottle.
feel the seal
as you tighten the CarbSeal you will notice that it will start to resist as the glass bottle compresses the CarbSeal. this should feel just like the original seal if not better.
let it sit for a few minutes, then loosen the cap. you should hear a satisfying hiss as the pressure releases, indicating a successful installation.
-
additional installation instructions & tips
the CarbSeal is made from food-safe silicone
use boiling water and/or warm soapy water to keep it clean
- do not use abrasive cleaners or sponges to clean the CarbSeal or the aarke carbonator cap. this could damage the surfaces.
- the CarbSeal is made from silicone and may not be resistant to all chemicals. avoid exposing the CarbSeal to harsh chemicals or solvents.
CarbSeal compatibility
the CarbSeal is designed for use with aarke carbonator bottles only. it may not fit other brands or models of bottles.
